
OpenSea is one of, if not the most, popular art-based non-fungible token (NFT) marketplaces. One of the major reasons for this is how easy it is to create, list and trade NFTS on the platform. Before you can create an NFT, you must first create a crypto wallet on which to store your NFTs and other cryptocurrency.
Prerequisites
Artwork to cover into an NFT
Before you can add your NFTs onto the blockchain, you will need to create your artwork and save them onto your hard drive. OpenSea recognizes gif, jpg, png, svg, mp4, mp3, WebM, wav, glb, ogg, and gltf file types with a maximum size limit of 100MB. If your file is too large, you can try to use an online file compressor such as compressor.io to reduce the file’s size.
Similarly, you can use online file converters to change the file type. However, you should first do your due diligence to determine which sites are safe to use and to ensure that you have a copy of your file saved elsewhere in case the file corrupts or becomes grainy during the conversion process. There are also offline options, such as Paint 3D that allows you to open one type of image, edit it and then save it as another.
An account on OpenSea
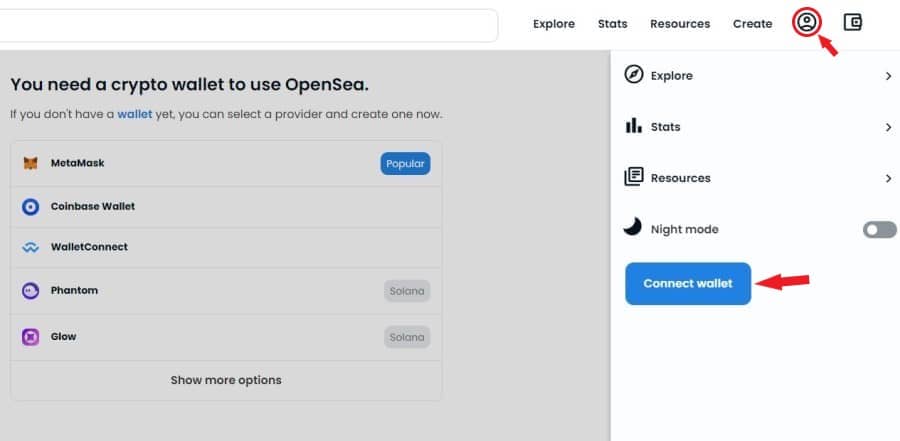
To create an account, you will need to select the profile tab and then select ‘connect wallet.’ You will then need to follow the prompts, such as copying your wallet address to the profile.
If you do not already have a wallet, you will be prompted to create one.
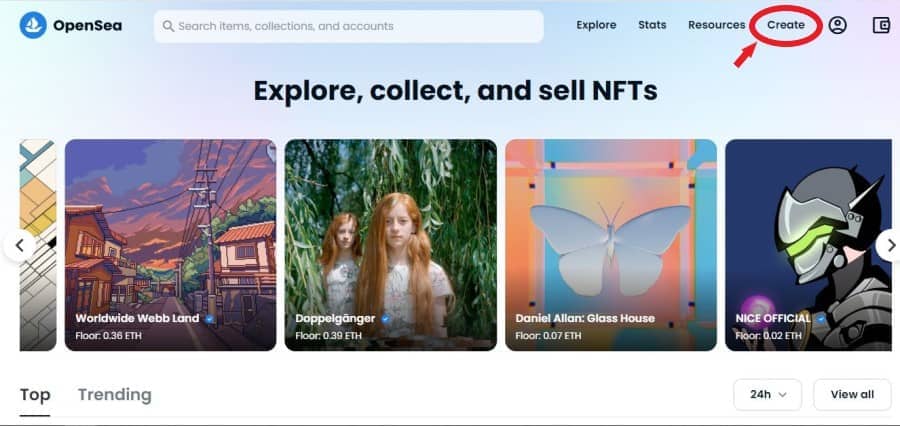
1. Select the ‘Create’ tab
This will take you through to the ‘Create New Item’ page which will allow you to convert your files to NFTs.
The ‘Create New Item’ page is a long form that allows you to create NFTs one at a time. We will break the form down into parts.
2. Upload your image
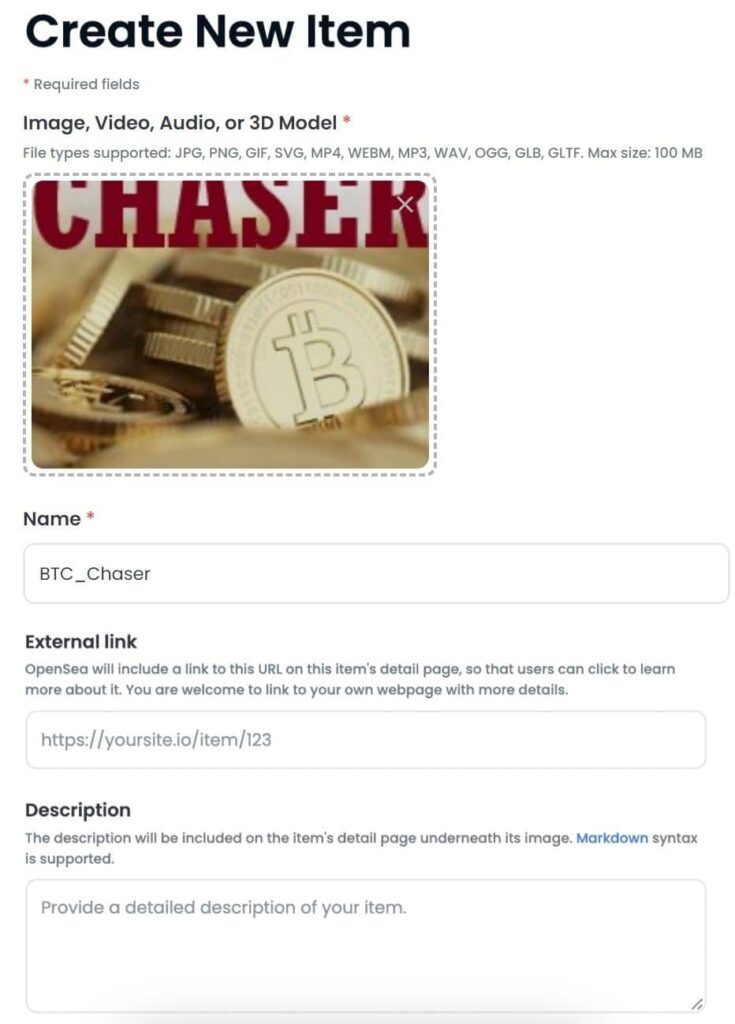
You are required to upload your image, name it and then create a link to your external website. Uploading your image is easy since you can drag it from the folder that it is saved in and drop it onto the image space.
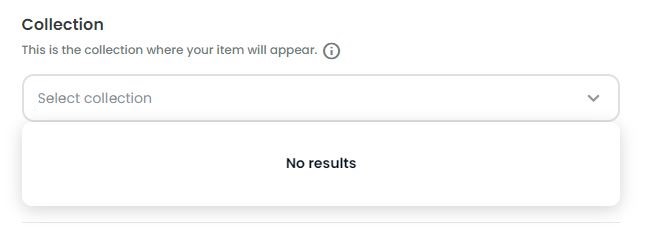
3. Assign NFT to a collection
The next section of the page allows you to create or select the set that you would like your NFT to form part of.
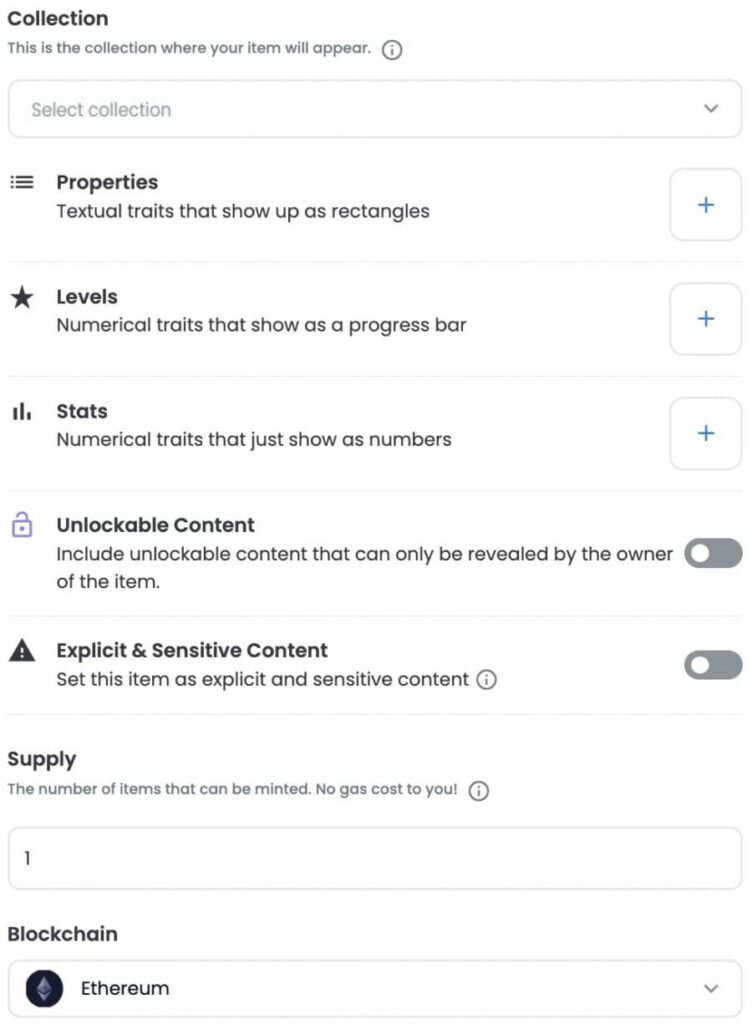
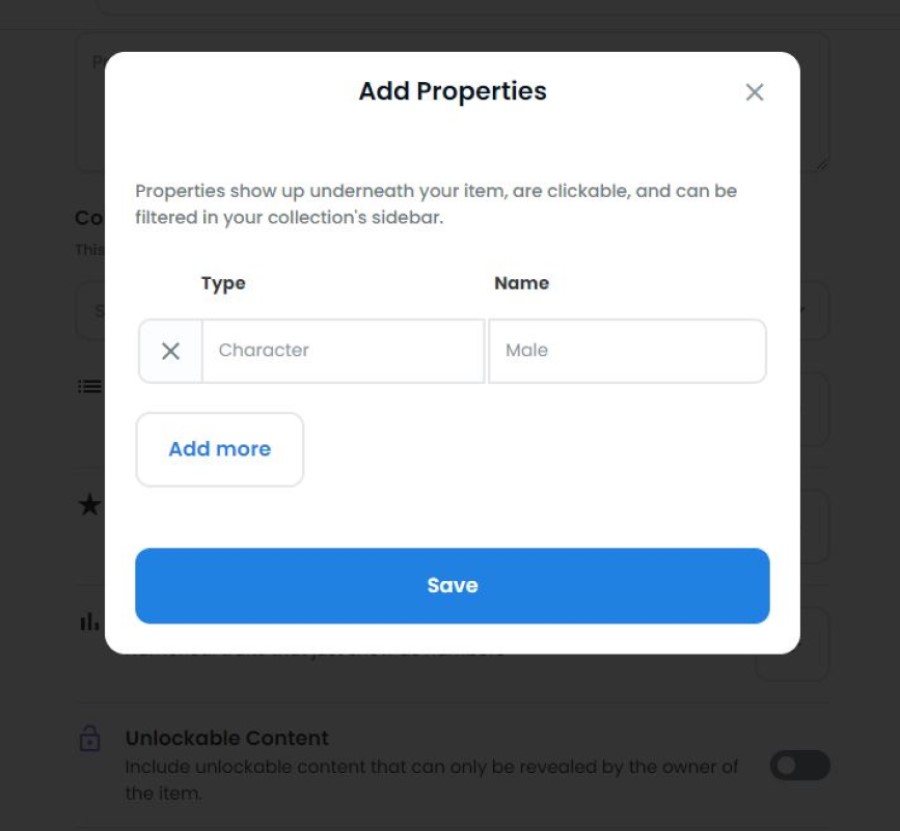
4. Add properties (optional)
There is also the option to set properties for your NFT.
This is useful for NFTs that are automatically generated with attributes or that have different parts that can be used independently of one another and therefore might not be visible underneath other layers, such as with Reddit avatar NFTs that may have a mask piece over its hair piece and similar effects.
Levels and stats are useful for gaming NFTs, like Axies or Crypto Kitties, which you can also list for sale if they are in your wallet.
You can also opt for it to be stand-alone, part of a set, or limited edition, meaning that there are replicas of it (each with their own ID due to their being pieces of data stored on the blockchain.) This is set by the ‘supply’ menu.
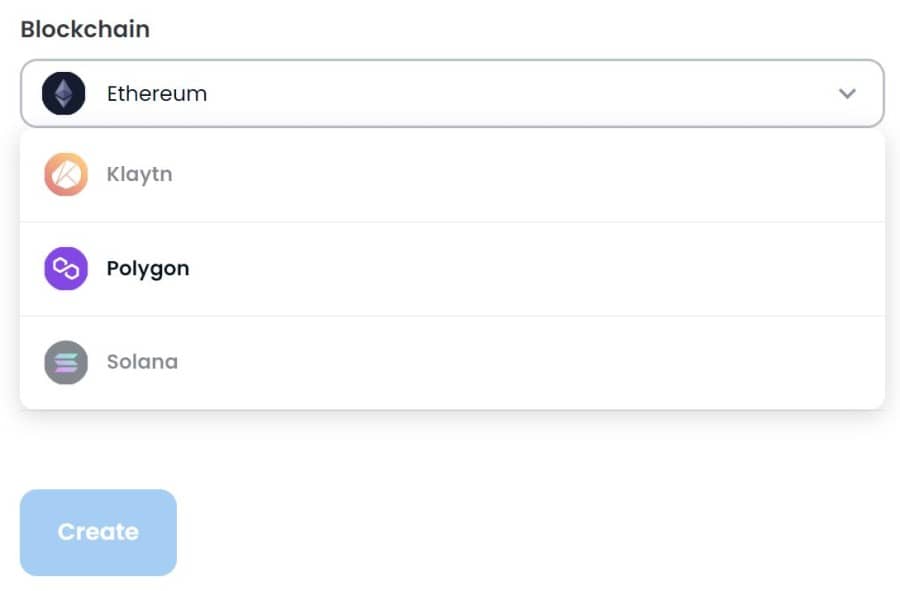
5. Select a blockchain
Next you will need to select the blockchain that you would like to build your NFT on. OpenSea is compatible with four blockchains, namely Ethereum, Polygon, Klaytn, and Solana.
This decision is important, because it will affect the token type of the NFT. You will only be able to sell your NFT for the associated cryptocurrency, and it will also impact transfer fees.
For example, GAS fees on the Ethereum blockchain were notoriously volatile, which is one of the reasons why the Ethereum developers decided to implement the Mainnet merge.
Once all the necessary fields have been filled in, press ‘Create.’ All necessary data is indicated by an orange asterisk (*.) So, it is not necessary to fill in all the fields.